Using Telephoto Lenses in the Forest

A few weeks ago two of my zoom lenses had to be sent into repair and I was left with nothing but a 100mm macro lens. This is a great little lens, but in the forest a prime lens is not always the most practical solution, even though it is great practice. It teaches you a lot about the effects that a certain focal length has on foreground/ background relationships, which is a topic I go into in my eBook Master of the Frame.


After quite a few weeks, there was still no sign of my two zoomlenses and I had some workshops planned, so I got myself an occasion Lumix S 70-300 lens. It is very lightweight, which is a huge benefit and it was relatively affordable as well. I used it just like my Lumix S Pro 70-200 F4 lens and noticed something weird; the vertical images were never sharp even with the camera on a tripod, the Image Stabilization turned off and the timer set to 2 seconds. This is my usual modus operandi and this always worked.
After thinking about it for a while, I realized that this lens did not have a tripod collar and it is not an internal zoomlens, but one that extends when zoomed. I figured that this must be the cause of the motion blur in the images. When the camera is on the tripod in vertical position and resting on the l-bracket, my hand needs to go over the camera to press the shutter release button, which causes movement and this makes the images unsharp. Because of this experience and having heard many clients complain about unsharp images from telephoto lenses, I thought it was time to write a piece about all the things that you can do to ensure a sharp image when photographing with telephoto lenses in a forest.
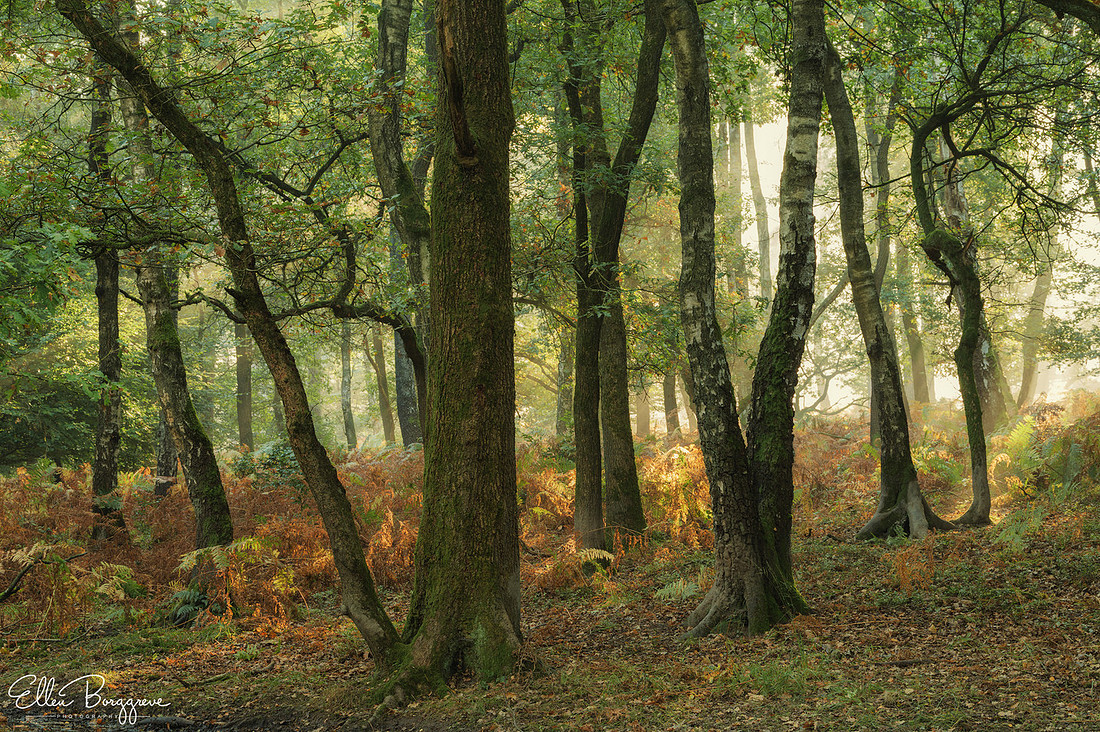
The 70-300 lens is actually quite sharp if you take the necessary steps to prevent all camera movement
1. Let's start with the obvious. You really do need to use a tripod in the forest in dim conditions. Yes, it is possible to work without a tripod when there is more light and especially with a lower megapixel camera with very good image stabilization, but if you are working with higher megapixel cameras, Image Stabilization is not going to help you get a shutter speed that is high enough. You need a tripod and a tripod head that are able to hold a camera with the lens attached steady and this means that some lightweight options, will not be sturdy enough. Check the maximum load of the ballhead and do not buy one that can carry just a little over the weight of your camera with your heaviest lens. A telephoto lens that extends might tilt forward during an exposure if the ball head can not cope with the weight or the uneven balance of an extended zoom lens.
2. Tripod feet...The forest floor can be uneven and unfirm. This means that even with a tripod set up, you can still introduce camera shake when pressing the shutter release button. I recommend using spikes instead of the standard tripod feet and also to press the tripod down and check if it might be resting on an acorn, branch or something similar.
3. If you have a telephoto lens with a lens collar, please use this instead of an L Bracket on the camera or a tripod plate on the body. This distributes the weight much better on the tripod head which helps prevent it from tilting forward. It is my preferred way of working, because this lens collar also makes switching between a horizontal and vertical orientation a breeze.
4. If you do not have a lens collar for the lens and it is also not possible to get one that fits on it, then you need to have an L-bracket on the camera. I have a universal one on my camera which is Capture Clip (by Peak Design) compatible, which is really great. I have the Three Legged Thing Ellie, in case you are interested. (PS I am not advertising this, I do not make money by recommending any kind of gear). What is important though is to make sure the L-bracket fits well and does not have much room between the left of the camera and the bracket. Otherwise this can also cause vibrations. I had mine just a little bit away from the body, so I could still get to the USB ports of the camera, but this tiny bit of extra distance caused noticeable vibration.
5. Now that the camera with the telephoto lens is on the tripod, it is important to switch the Image Stabilization off. For lenses without built in stabilization you will need to switch it off in your camera. I have this option in a quick menu, so I can very quickly turn it on or off. If the lens has built in stabilization, you need to switch it off on the lens.
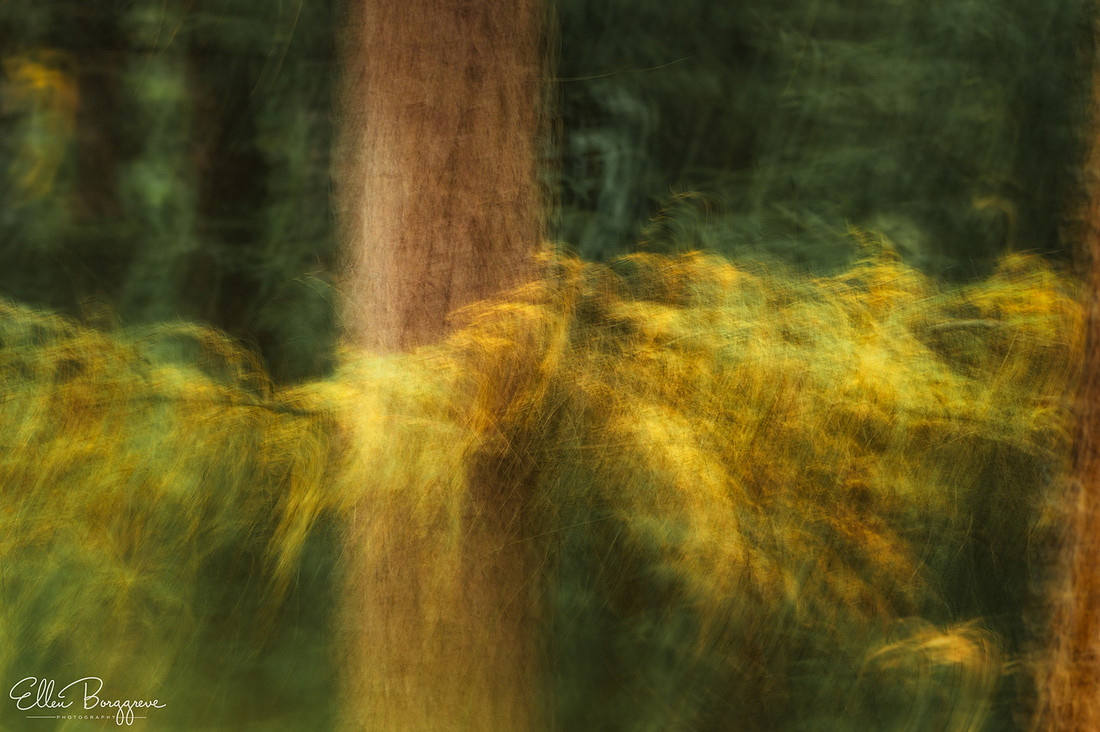
Sometimes playing with unsharpness is a great way to emphasize motion though. In this case I used a technique called ICM (Intentional Camera Movement)
6. Telephoto lenses that are extending during zooming and those without tripod collars are very, very prone to camera shake. When I compare the 70-300 lens to the S Pro 70-200 with internal zooming and a tripod collar, the difference is that all pictures of the 70-200 are in sharp focus and the vertical ones of the 70-300 were all out of focus. This is because your hand wraps around and over the camera body to operate the camera and also using manual focus on the extended lens introduces a lot of camera shake. Even when the camera is on a tripod, which is level, has the legs well extended and without using the middle column. So the next step is to use the self timer of your camera. I always had it on 2 seconds, but this was not enough for the 70-300 lens and so I have bumped it up to 10 seconds now, which did the trick. You can also use a remote control or in some cases your iPhone to trip the shutter release.
7. If you are using a polarizing filter and the shutter speed is getting too slow, consider removing the filter, so the shutter speed can be raised slightly. If you are working with a 5 second exposure and you move your feet on a bouncy forest floor, the tripod will move and this will again introduce camera shake. Also remove the camera strap, if you have one attached, on windy days, because if it catches the wind, the camera with this long lens attached will move just a little, which is enough to cause unsharp images in longer exposures.
8. These steps should suffice to take care of the motion blur introduced by camera shake. The next problem is the depth of field. A telephoto lens has less depth of field than a standard lens, which means that even when you use F/13, only a limited amount of the image will be in focus unless the scene you are photographing is entirely at infinity. This however is highly unlikely in the forest and you will have to live with the fact that not everything will be in focus, which will be most evident in clear weather conditions. It is not a problem if some trees in the background are out of focus in fogy conditions. The trees will be hidden from sight anyway. It is however a problem in clear conditions. If you choose something like F5.6 and you are quite close to a large tree, you might only get the trunk and some branches in focus whilst the rest will be unsharp. You can go up to F/16, which is often not going to be enough either, when you are dealing with objects in an immediate foreground, middle ground and background that are at some distance from each other. Also most lenses will be less sharp above f/8 or F/11 because of something called diffraction, which softens the details.
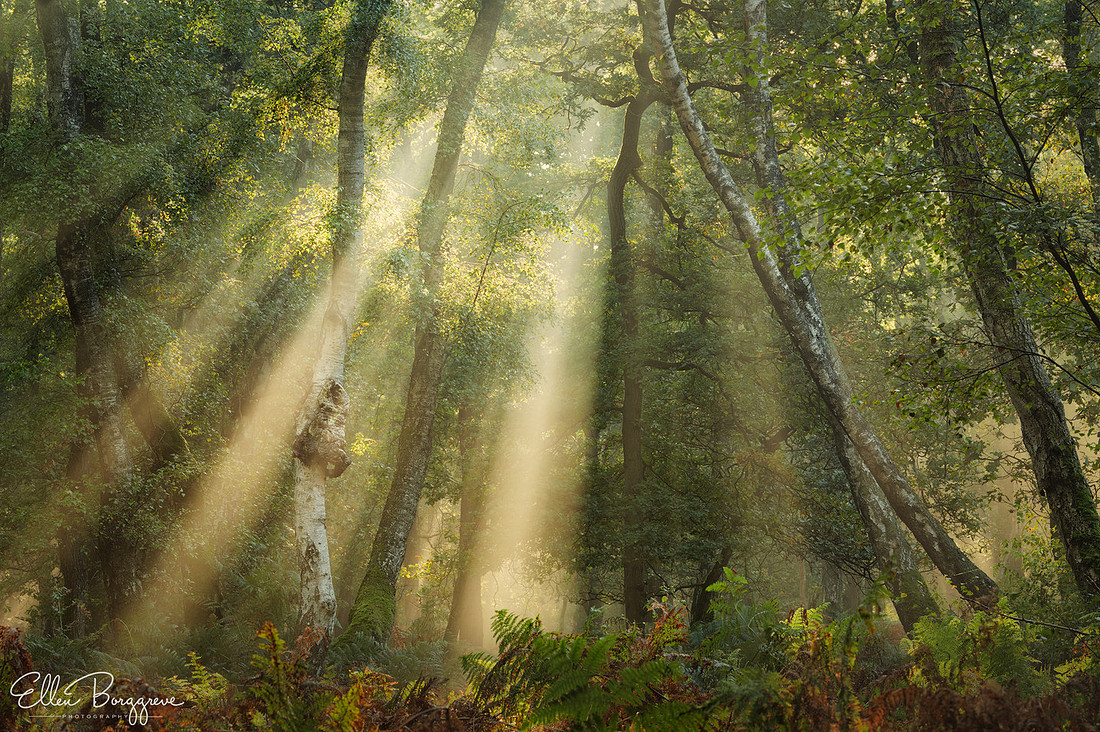
The trees that are most important in the scene need to be in focus. In this case, the birch trees on the right and especially the paler birch tree on the left that is hit by the light need to be in focus. The background is partially hidden behind the haze caused by the sun rays and high humidity level.
So, the advice I can give you is to focus on what the viewer's eye will be attracted to, or what you want the viewer to look at. Make sure that if you have something in the foreground that might attract the attention which is also out of focus, it does not look like you messed up your focus. So, make it really unsharp, not almost sharp. If something is almost sharp, the viewer's attention will stay with this part of the image whilst the eyes keep trying to get it in focus. It can be almost sharp if it is completely hidden in the shade though.
9. These days most if not all cameras have something called phase detect autofocus. Whilst this is a very refined kind of autofocus and really great for moving subjects, it is not the best in dim situations. My old camera has a "bad" autofocus system, which really is not great for anything that is moving, but is extremely reliable in the forest. Its successor is supposed to have a much better autofocus system, but now I need to use manual focus all the time when I am photographing in the forest, because it can be rather hit or miss in dim situations. So, use manual focus if you need things to be tack sharp. Use focus peaking or focus magnify to check your focus. I usually half press the shutter release button to activate the autofocus and then finetune by using manual focus. If you use autofocus, use the one spot autofocus and place it over an area with contrast on the object that you wish to have in focus. Do not make the area too large or it will include the background in the area to be considered for focussing and my experience is that it prefers to lock onto the background if the object that you would like to be in focus is very dark (like a tree trunk).
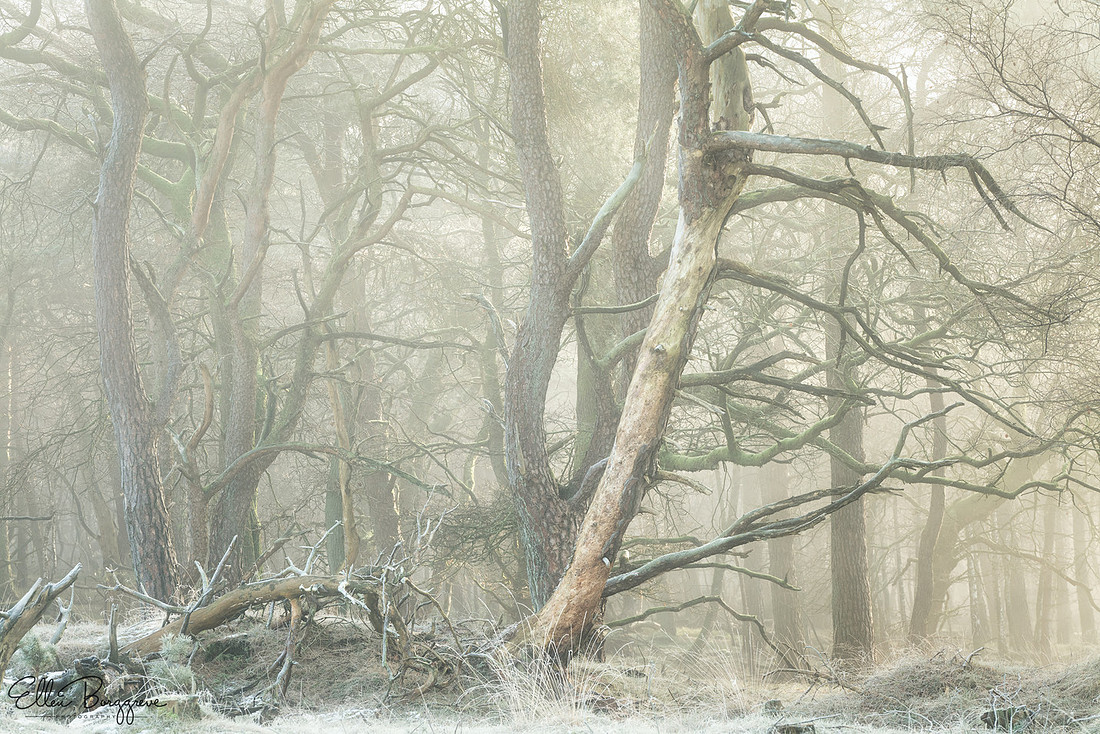
This picture was one of the 70-200 lens. In this case it does not matter that much if the background is out of focus, because the fog and sun haze obscured it from sight anyway. This is only one of the reasons why mist if considered a forest photographer's best friend
10. I know many people will say you can always use focus stacking to make up for a shallow depth of field, but anyone who has ever tried to focus stack multiple image taken in a sequence in a forest, will know that even the slightest breeze can move the leaves in between exposures and blending the images will be a complete nightmare. I have once spent two days to get a focus stack perfect, but after this experience I decided that there is just too much movement in a forest for this method to work well, except for the one time when I was photographing in very bright conditions and at a high shutter speed with a camera that shot with 120 raw frames per second. This is the only focus stack of a forest scene that turned out perfect.
I hope these tips will help you work with your telephoto lens in the forest. I love telephoto lenses, they suit the way I see and I was a bit surprised when I found out that the "new" lens seemed to be unable to come up with sharp vertical images. I am happy to report that after changing the self timer settings from 2 seconds to 10 seconds, the images turned out tack sharp.
In my eBook Master of the Frame, I go into great detail explaining the difference between focal lengths for the relationships between foreground and background, but also how it affects distractions in the frame. Sometimes telephoto lenses can help you clean a scene up, but at other times they magnify the mess. It is important to carefully consider the appropriate focal length for the subject you are about to photograph, rather than just defaulting to zooming in from where you stand to bring things closer. Telephoto lenses can be a great tool in the forest, but in some forests and scenes they just do not work that well.
I hope this blog post has at least been of some help to some of you who might have dealt with slightly unsharp images when using a telephoto lens. Please consider buying my eBook if you would like to read all the different elements that can help you become a master of your frame, including the choice of lens, focal length, aspect ratio and so much more. I have poured all I have learned about this into this eBook and every sale would be highly appreciated. Thank you...